
Take a new file with black background and type a word you want.

For example if have written “ICE”
As far as possible use some Big / Bold Font style like IMPACT to give you the proper effect.

Rasterise the text layer and merge down with the background

Now go to menu Filter>Stylize>Solarize

After this, go to menu Image>Adjustment>Auto Levels

Now we have to rotate our canvas in 90° CW.
Go to menu Image>Rotate Canvas>90° CW
We have to now give a wind effect.
Go to menu Filter>Stylize>Wind
Select “Wind” under Method and “From the Right” under Direction

Now rotate back the canvas to its original position.
Go to menu Image>Rotate Canvas>90° CCW


We will now give ripple effect to the image.
Go to menu Filter>Distort>Ripple
Set the value of Amount to 100% and Size Small


The image will now look like this

Now create a new fill layer.
Go to menu Layer>New Fill Layer>Solid Color
And just select OK from the New Layer window.


Select the color that will have a feel of ice, i have selected #0e67df.
Change the blend mode if the new layer as Vivid Light

We are almost done with the image, we now just have to give it a icy glow effect.
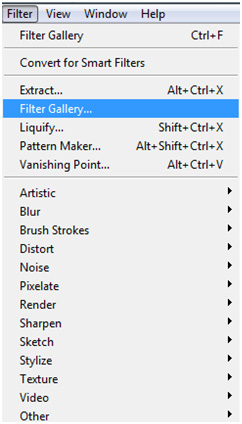
Select the background layer and go to menu Filter>Filter Gallery
Now Select the Distort Menu and under that select Diffuse Glow

Set the values as
Grainness – 0
Glow Amount – 16
Clear Amount – 13
With this our final result looks like this

To further Improvise, you can use few tools like Brush, Eraser as below:
To Soften the Bottom Edges of the Image, We have taken a soft brush and used it to erase and black out few of the bottom edges and make it smooth


You can further tone down the “Blue-ness” of the Image by using Photo Filters from Image- Adjustments – Photo Filter

Select whatever drop down suits your style, but for Ice, recommended would be
Underwater at Maximum of 100% density

This is how your final file should look like:
ICE

Hope you liked this tutorial.